
The complete guide
Getting a clean first recording, step by step: the Shure MV7 Plus White
Getting the best out of the Shure MV7 Plus White on day one is mostly about position and gain, not settings hidden in menus. Start with the microphone six to twelve inches from your mouth, angled slightly off-axis rather than pointed straight into your lips, which reduces plosive pops on words starting with P and B.
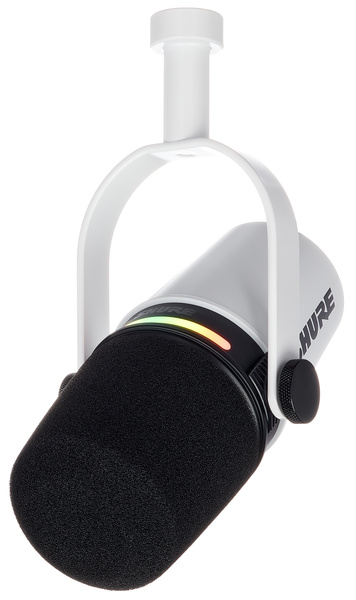
On the Shure MV7 Plus White specifically, Shure states: Multicoloured LED strip functions both as a mute switch as well as displaying gain or monitoring levels; ShurePlus MOTIV desktop application allows users to save their own presets or ; Internal shockmount. At £329.99 it sits in the premium tier of this catalogue, and those specific figures (not just the USB connection type) are what should decide whether it fits your setup over another Shure model or a different brand at a similar price.
Set your input gain so that normal speaking peaks comfortably below clipping, leaving headroom for louder moments — a laugh, a raised voice — without distortion. It is far easier to boost a quiet recording afterwards than to fix a clipped one.
Record a thirty-second test clip in the room you plan to use before committing to a full episode. Listen back with headphones, not speakers, and check specifically for background hum, fan noise, or room echo, all of which are easier to fix by repositioning the mic or muffling a hard surface than by trying to remove them afterwards.
Once gain and position are dialled in, the Shure MV7 Plus White needs very little further adjustment episode to episode — most of the ongoing work in a home podcast setup is in the room, not the microphone.